Written by Black Feather Senior Arctic Guides Wendy Grater, Mike Hill and Colin Smith
Ever wondered how you would stay warm on an Arctic ski tour, a trip to the Floe Edge or on an Arctic hiking trip? Many of you will be familiar with the concept of layering: choosing the right types of clothing and combining them for the best ability to adjust temperature as your body warms up or cools down. We would normally start with a wicking layer close to the skin, made of a natural or synthetic fabric that helps move perspiration away from you, such as merino wool, and then add one or more warming layers outside of that. These warming layers are normally made from thicker wool, fleece, down, or synthetic insulation, and can be worn one on top of the other, as long as they are big enough! Depending on the temperature, a final weathering layer to keep all of your precious heat in is the final step. This could be a windbreaker, rain shell, or even a wind-proof parka. Ok, we’re layered. But how do we deal with the more subtle nuances of temperature management? What other suggestions are out there? These pro tips, from some of our most senior ‘cold weather’ Black Feather guides, dive right in!
1. “Be Bold, Start Cold”
A simple adage to remind you not to start out wearing all of your layers. By all means: (please!) stay warm as you prepare to depart, but then remember… as you work, you will warm up. As you warm up, you may begin to sweat. Soon after, you stop for a break…not only do you start to cool down, but on top of that now you are wet! To prevent this, quickly shedding and stowing a layer just before departure time is a great tactic. Keep that layer handy – we’ll talk about that in tip #3.

2. Side Zips
Oops! You shed a layer and were doing fine managing your temperature until the climb got steeper. Now you are getting warm and don’t really have time to stop and adjust your layers. This is where having outer layers that you can vent come in handy. These are the “pit-zips” under the arms of your shell jacket and side zips on your pants that allow more air to circulate closer to the skin. Open ‘em up!
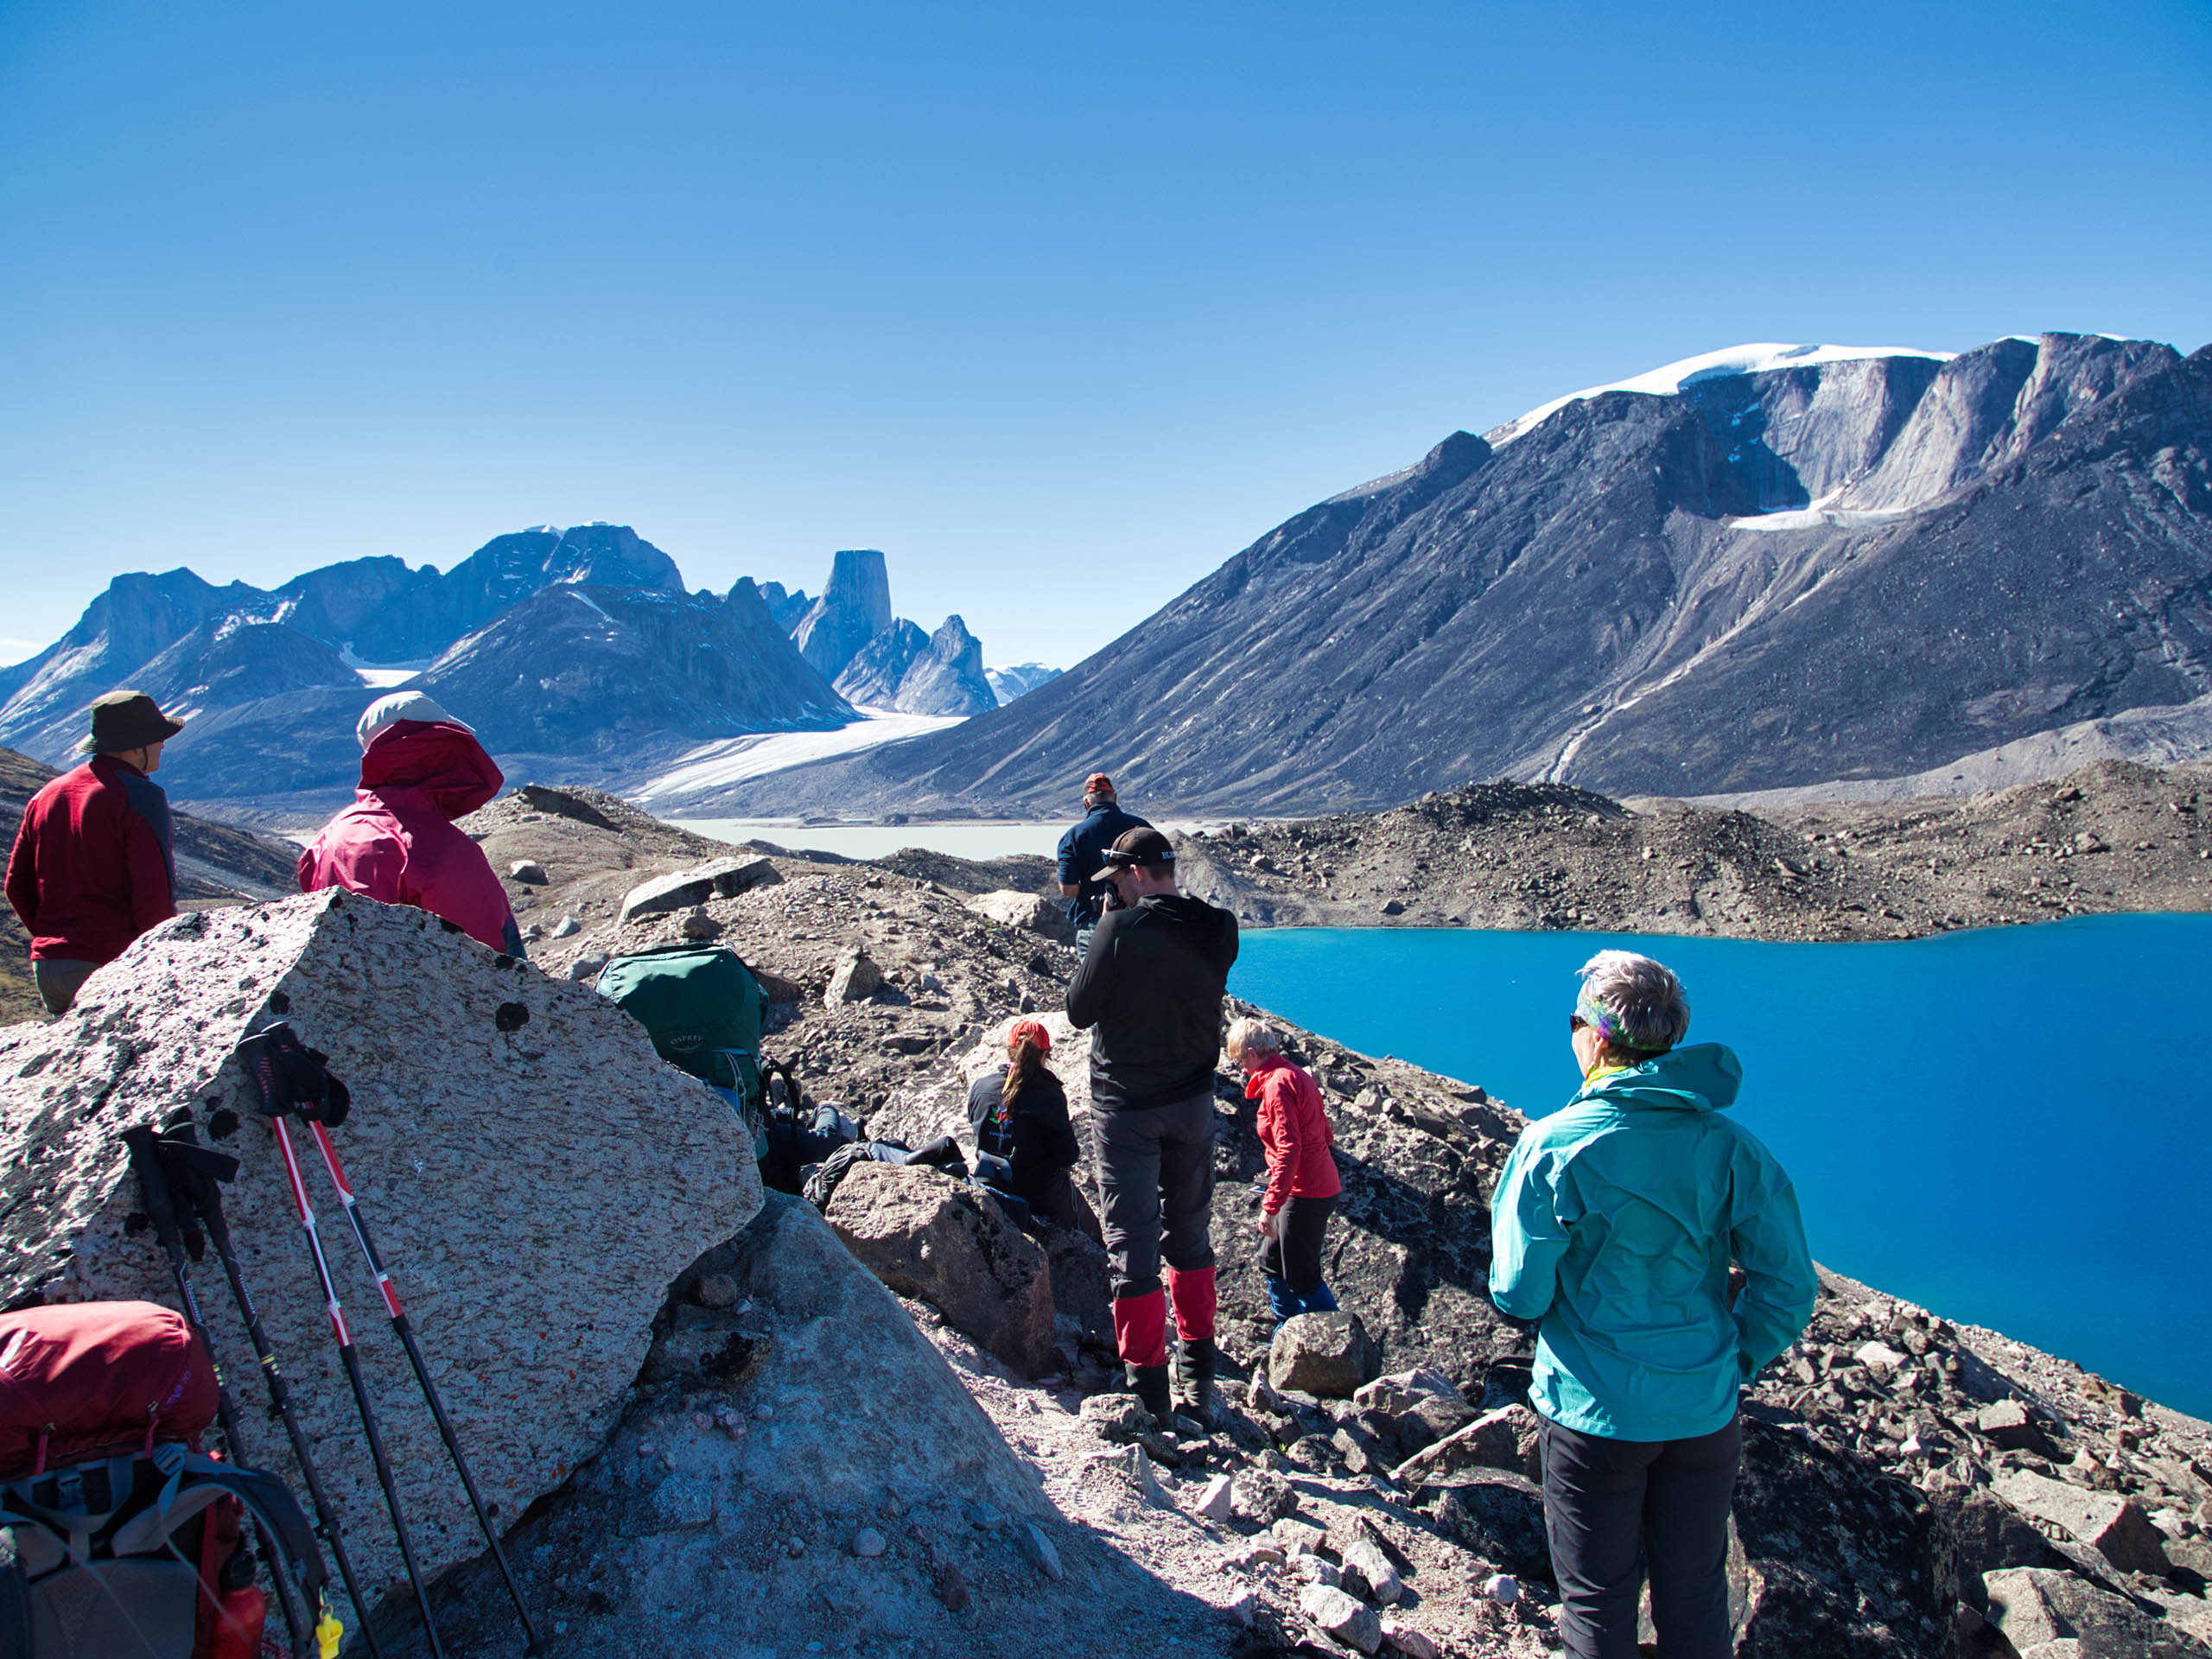
3. Layer Up at the Stops
Your body produces heat as you move. When you stop, things start to cool down. Don’t wait too long – put another layer on before you’re cold to trap that exercise-produced heat before it dissipates. That handy layer from tip #1 that you stowed somewhere close should do nicely. Throw it on and then take your pictures knowing you will stay comfy and warm!
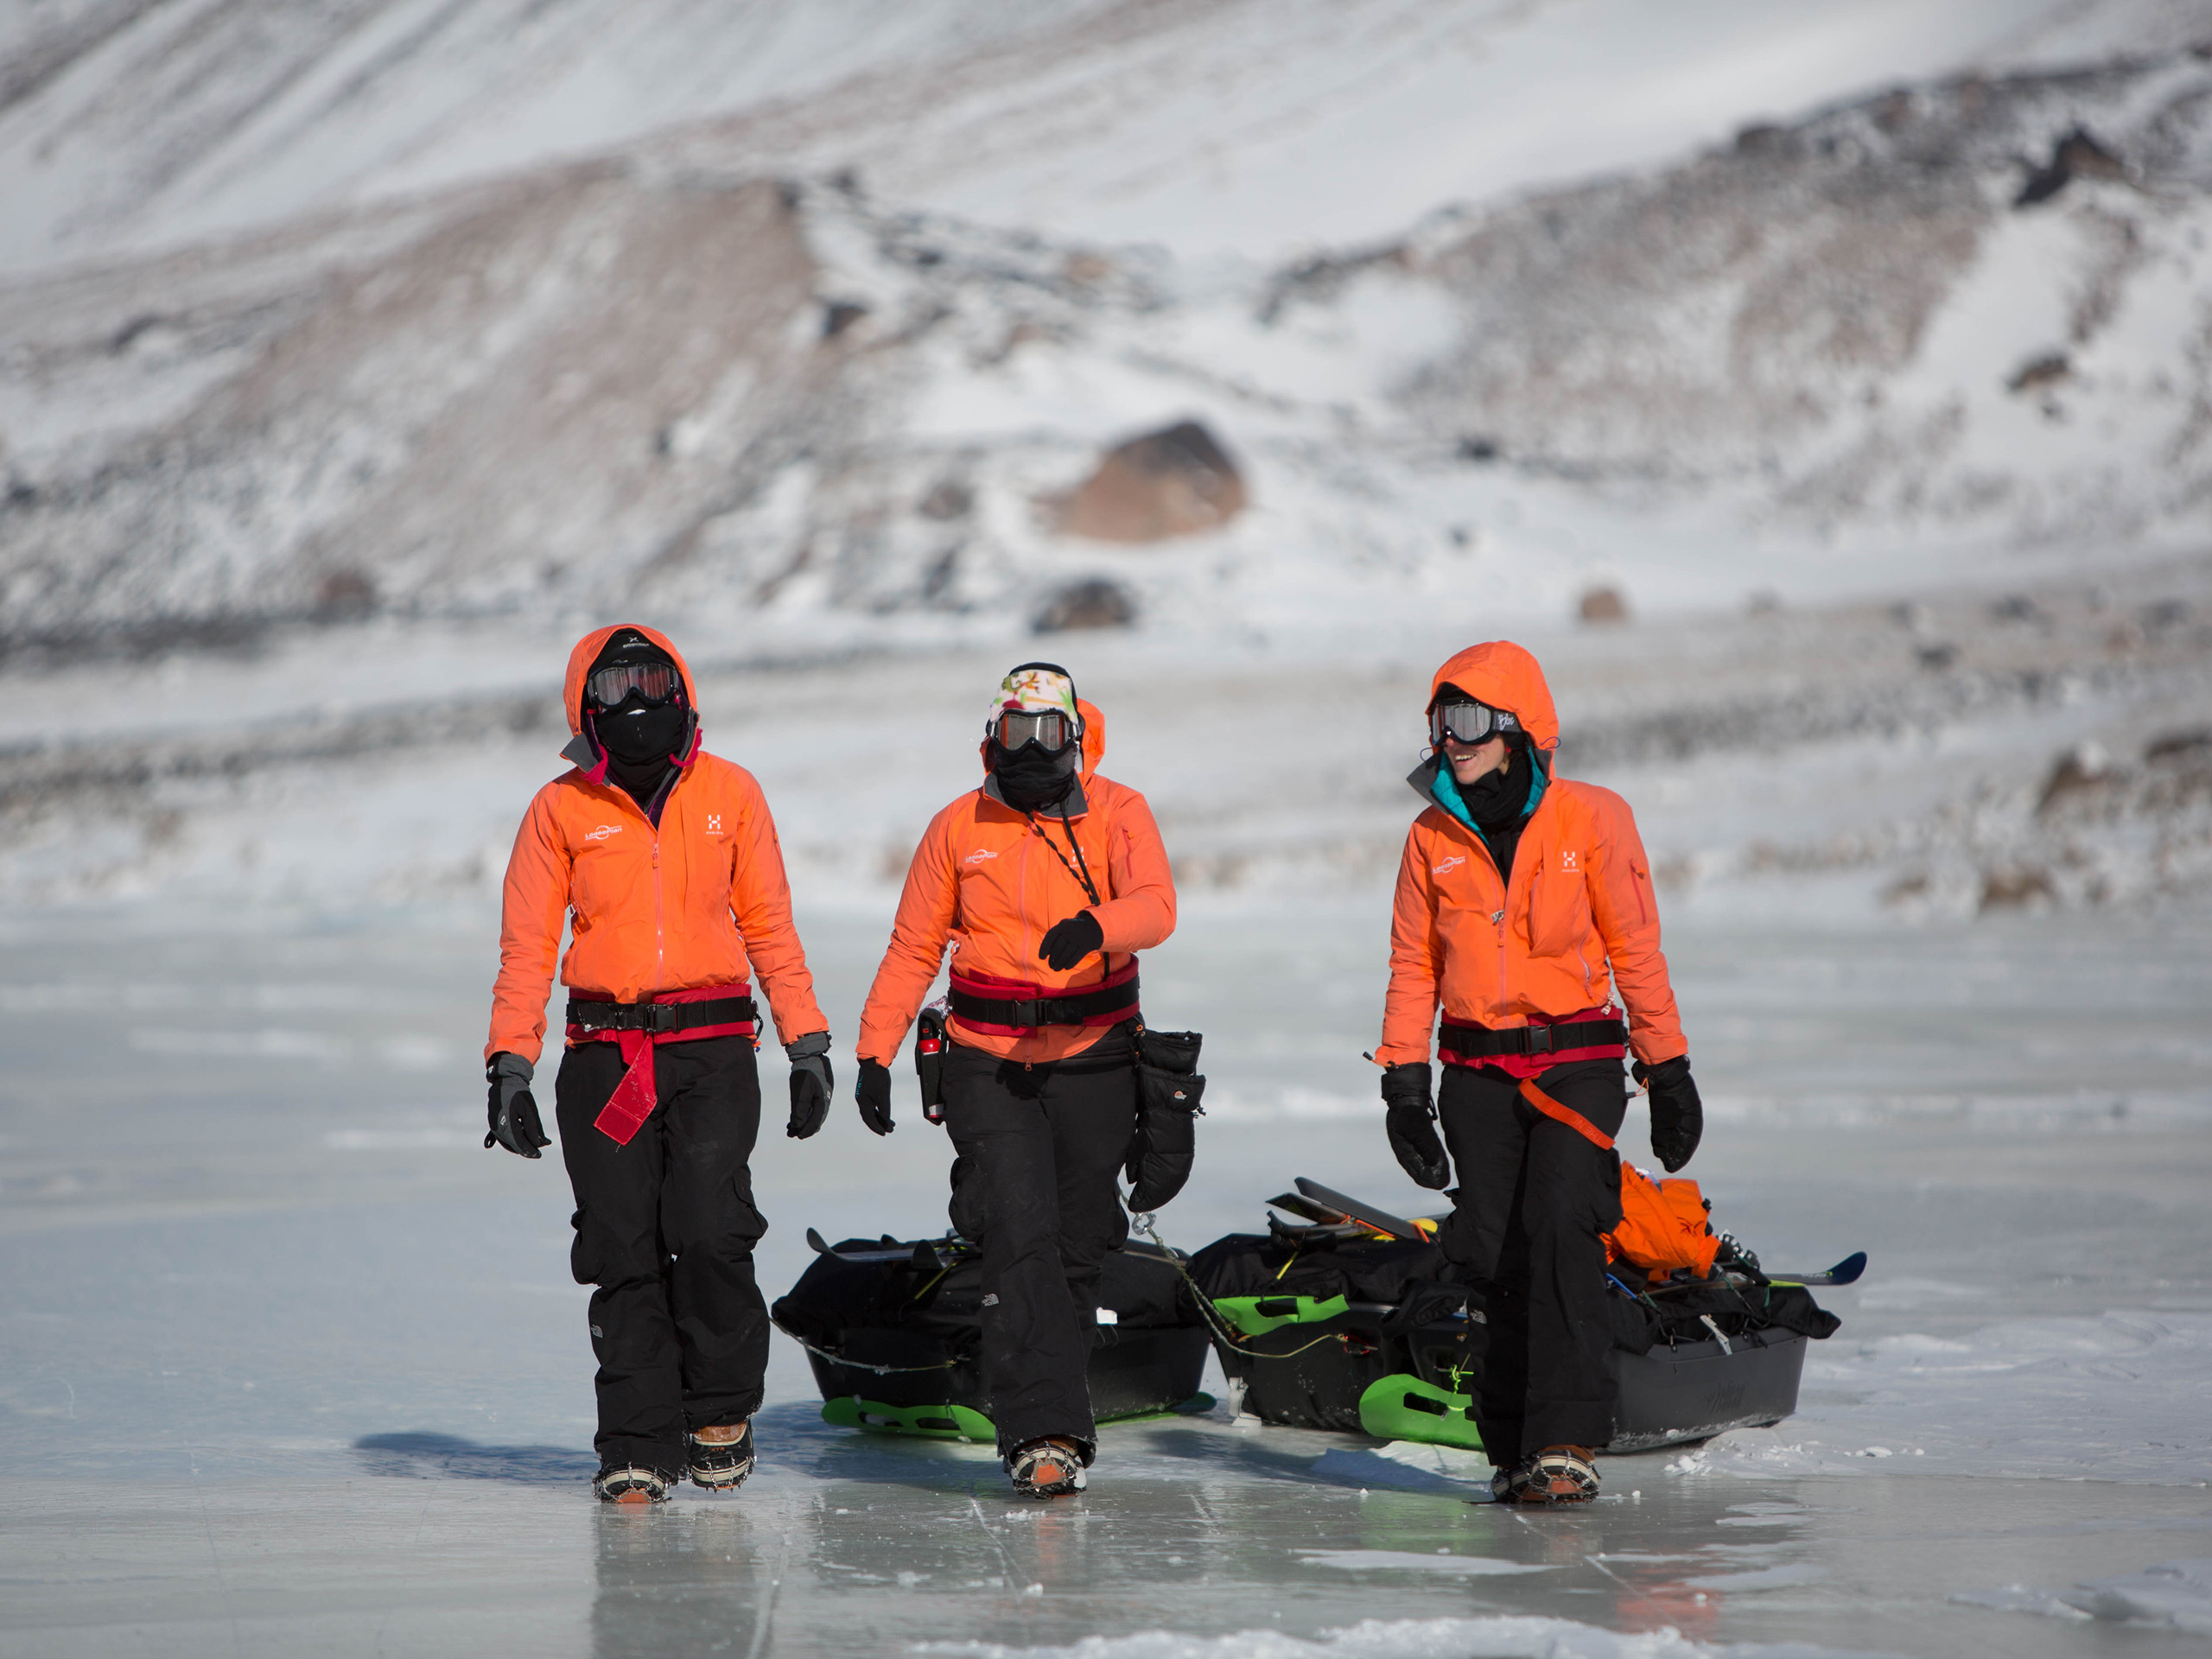
4. Move With Intent
Move slowly and try to be efficient in your actions to keep your internal temperature moderate, not hot and sweaty. Keep a pace that is good for you… not to fast, and not too slow. Think about your next move or need in advance, and plan accordingly.
5. Insulate yourself from the snow, wet and cold whenever possible.
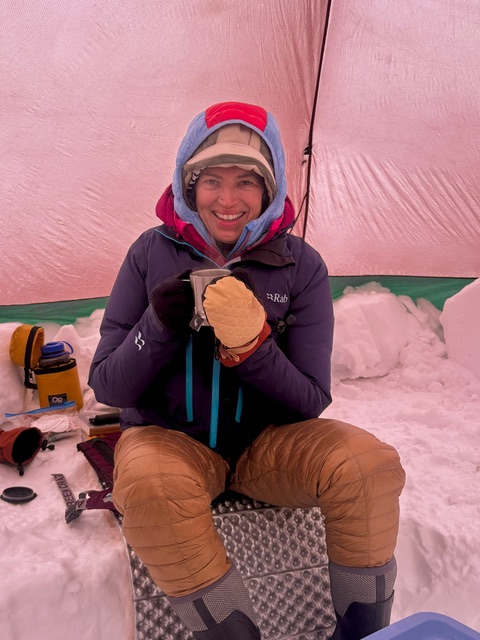
A closed cell foam pad to sit or even stand on is always worth the weight and can save vital calories by helping you stay warm against the cold, sometimes damp (sometimes frozen!) ground at a lunch stop. Never has anyone said they wished they had left their bum-pad at home!
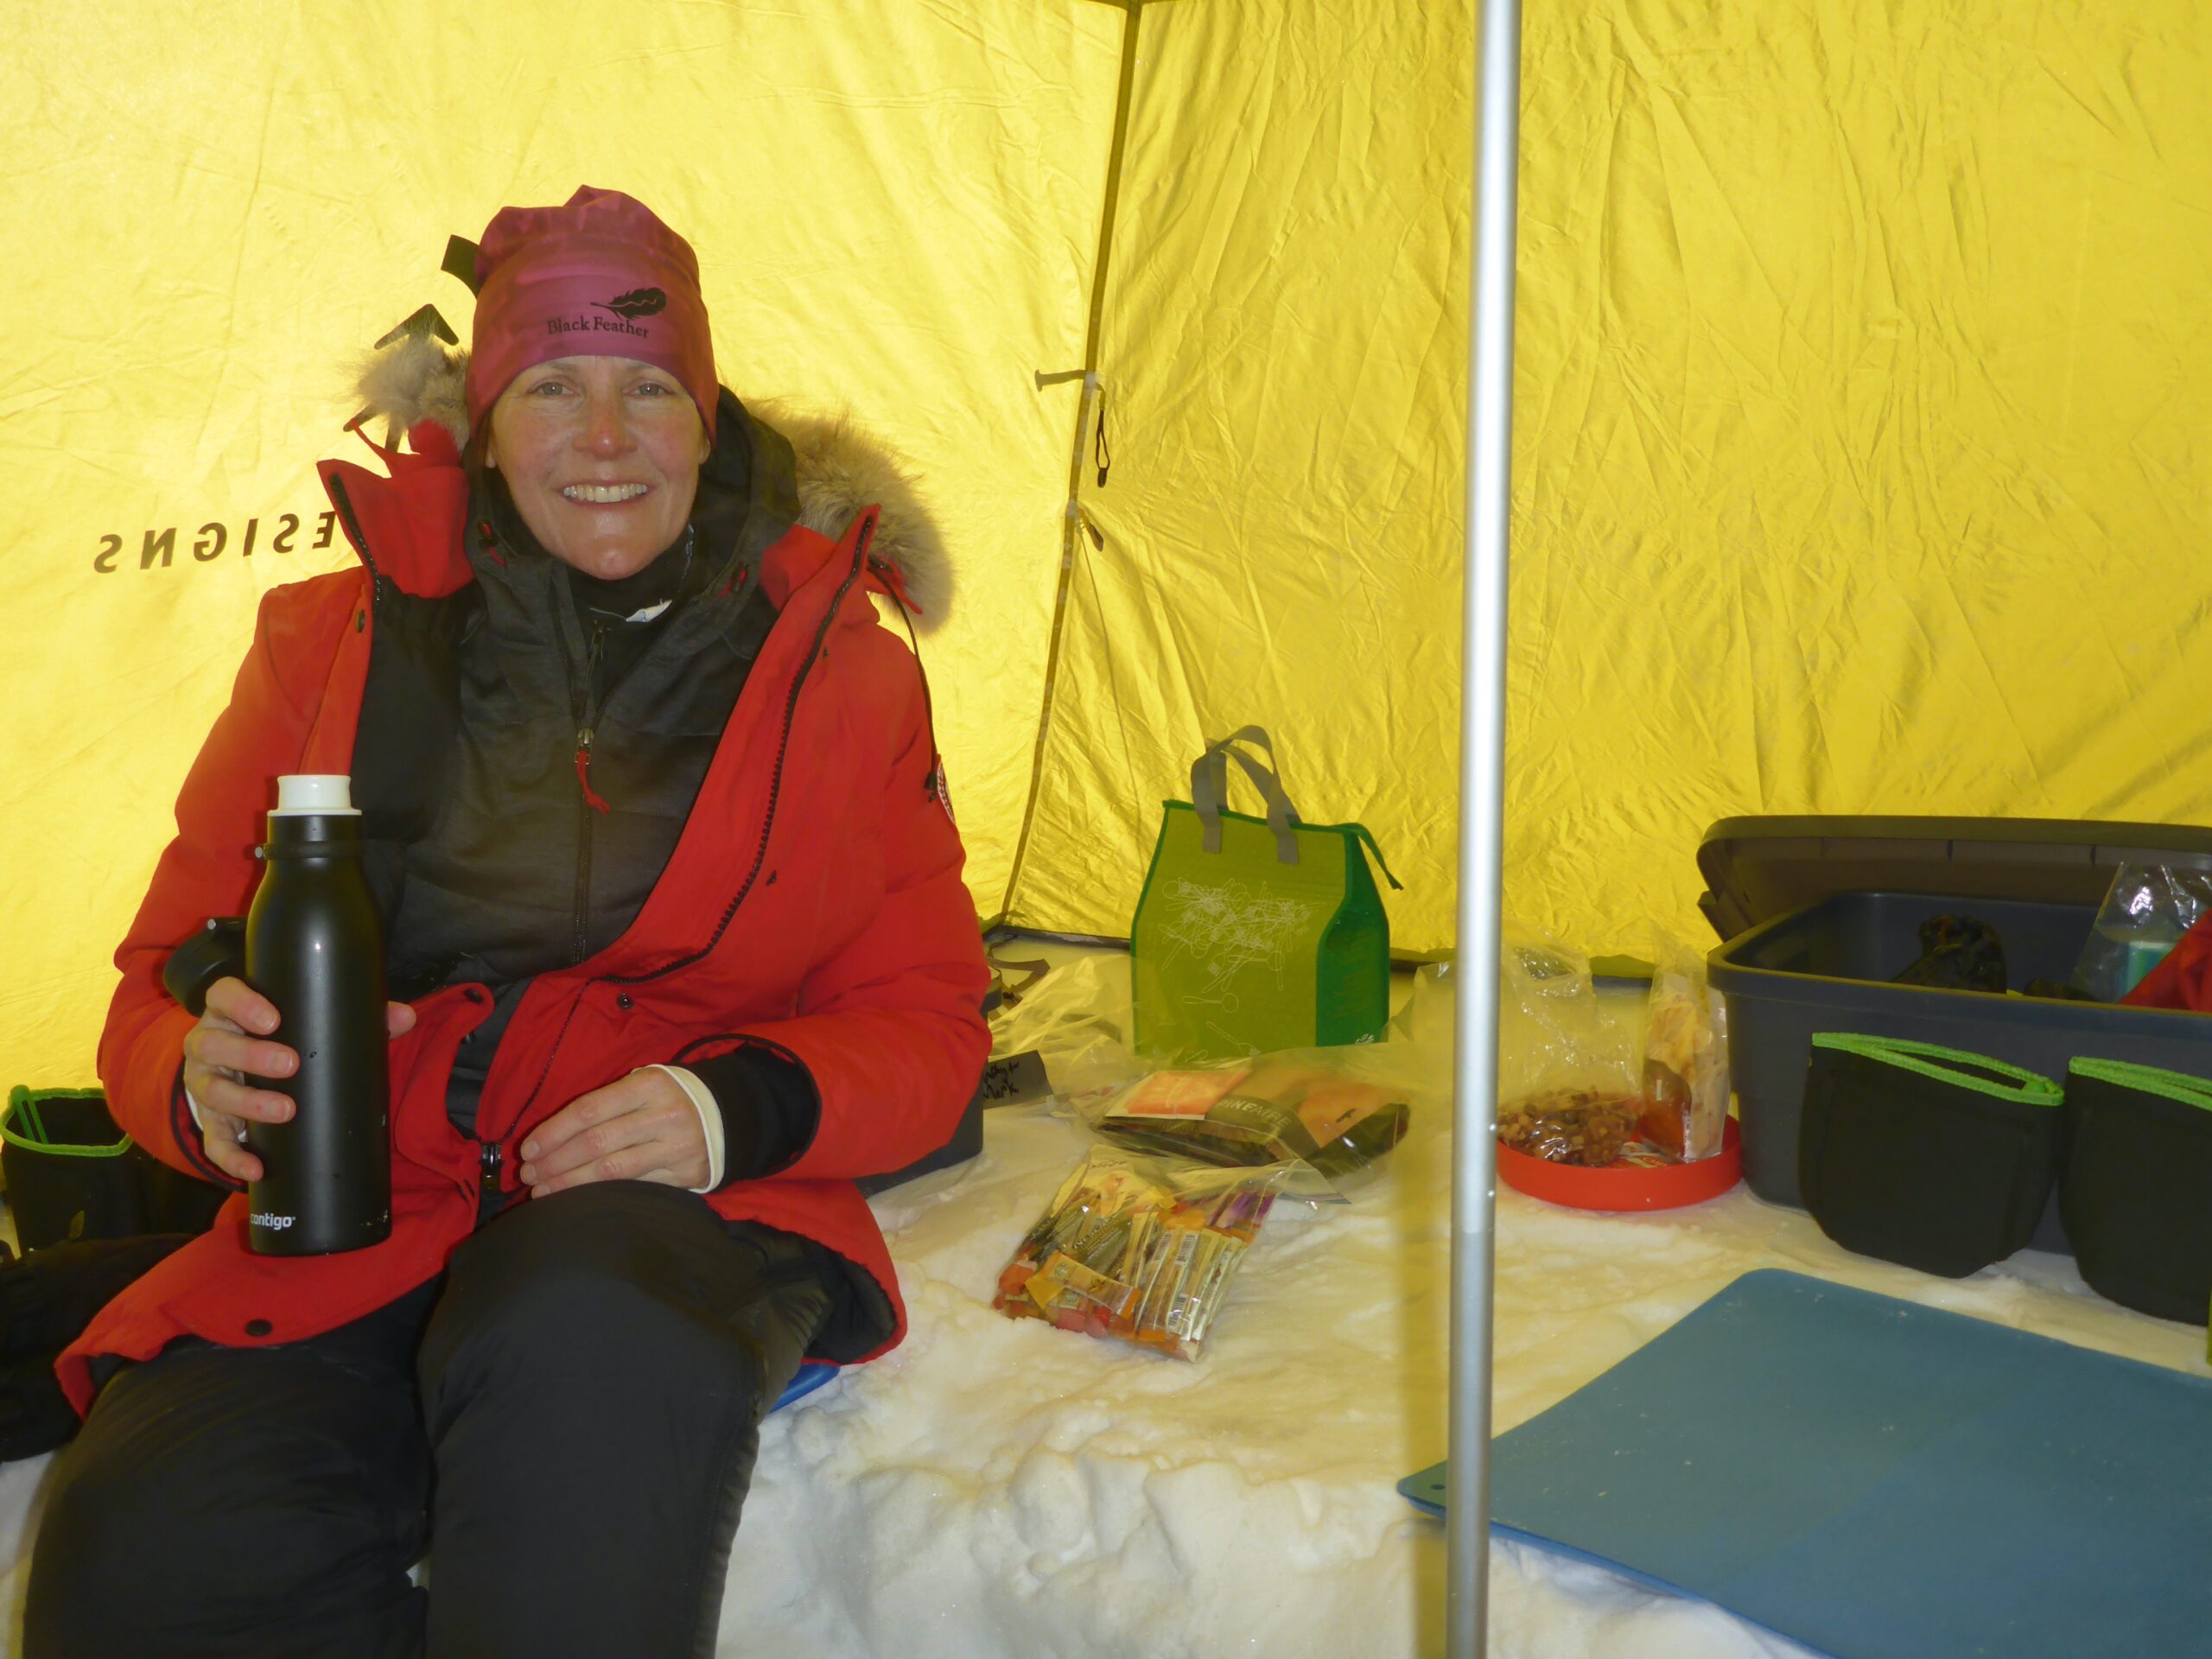
6. Always be Eating and Drinking
It takes a lot of calories to keep our bodies warm when we’re on expeditions in cold places. It can feel difficult to eat and drink enough, so we encourage constant snacking, and keeping soups, teas and hot drinks at the ready. Now is also the time to celebrate and indulge in your favourite types of candy!

7. If you’ve got to go, you’ve got to go!
Listen to your body’s needs when the temperature drops. Unloading our waste systems is one thing our bodies do when our core temp drops. Cold-induced diuresis is the body’s way of getting rid of waste liquids your body is working hard to keep warm, so that heat energy can be redirected to where is is needed… let it happen and make opportunities even if it’s uncomfortable and cold. And on that note, consider an appropriately sized pee bottle (that you’ve practiced with beforehand!) so you can stay inside your tent to pee, instead of in the cold, wind, rain, or snow.
8. Fingers and Toes
Your extremities may be challenged to stay warm in Arctic temperatures. To give them a fighting chance:
- Wear insulated boots and mitts with liners that can be taken out and dried if damp
- Use gauntlet style mitts to protect your wrists from cold air
- Put gaiters on your boots to prevent snow and cold from getting in
- Wear technical and insulating wool socks and liner gloves/mitts
- Wiggle your toes and swing your arms in a circle to increase circulation
- Use hand and toe warmers to boost the temperature
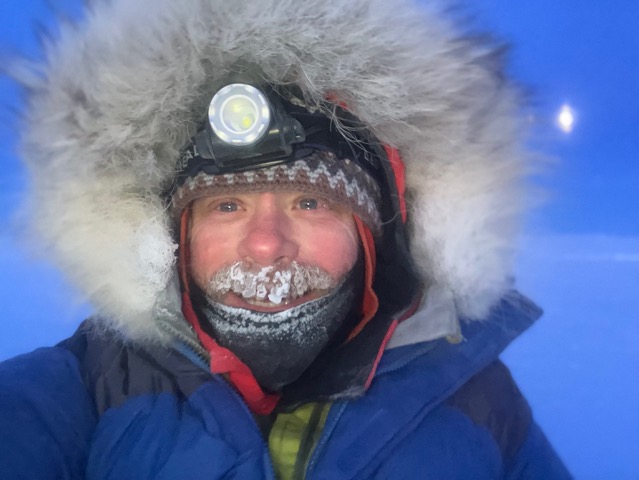
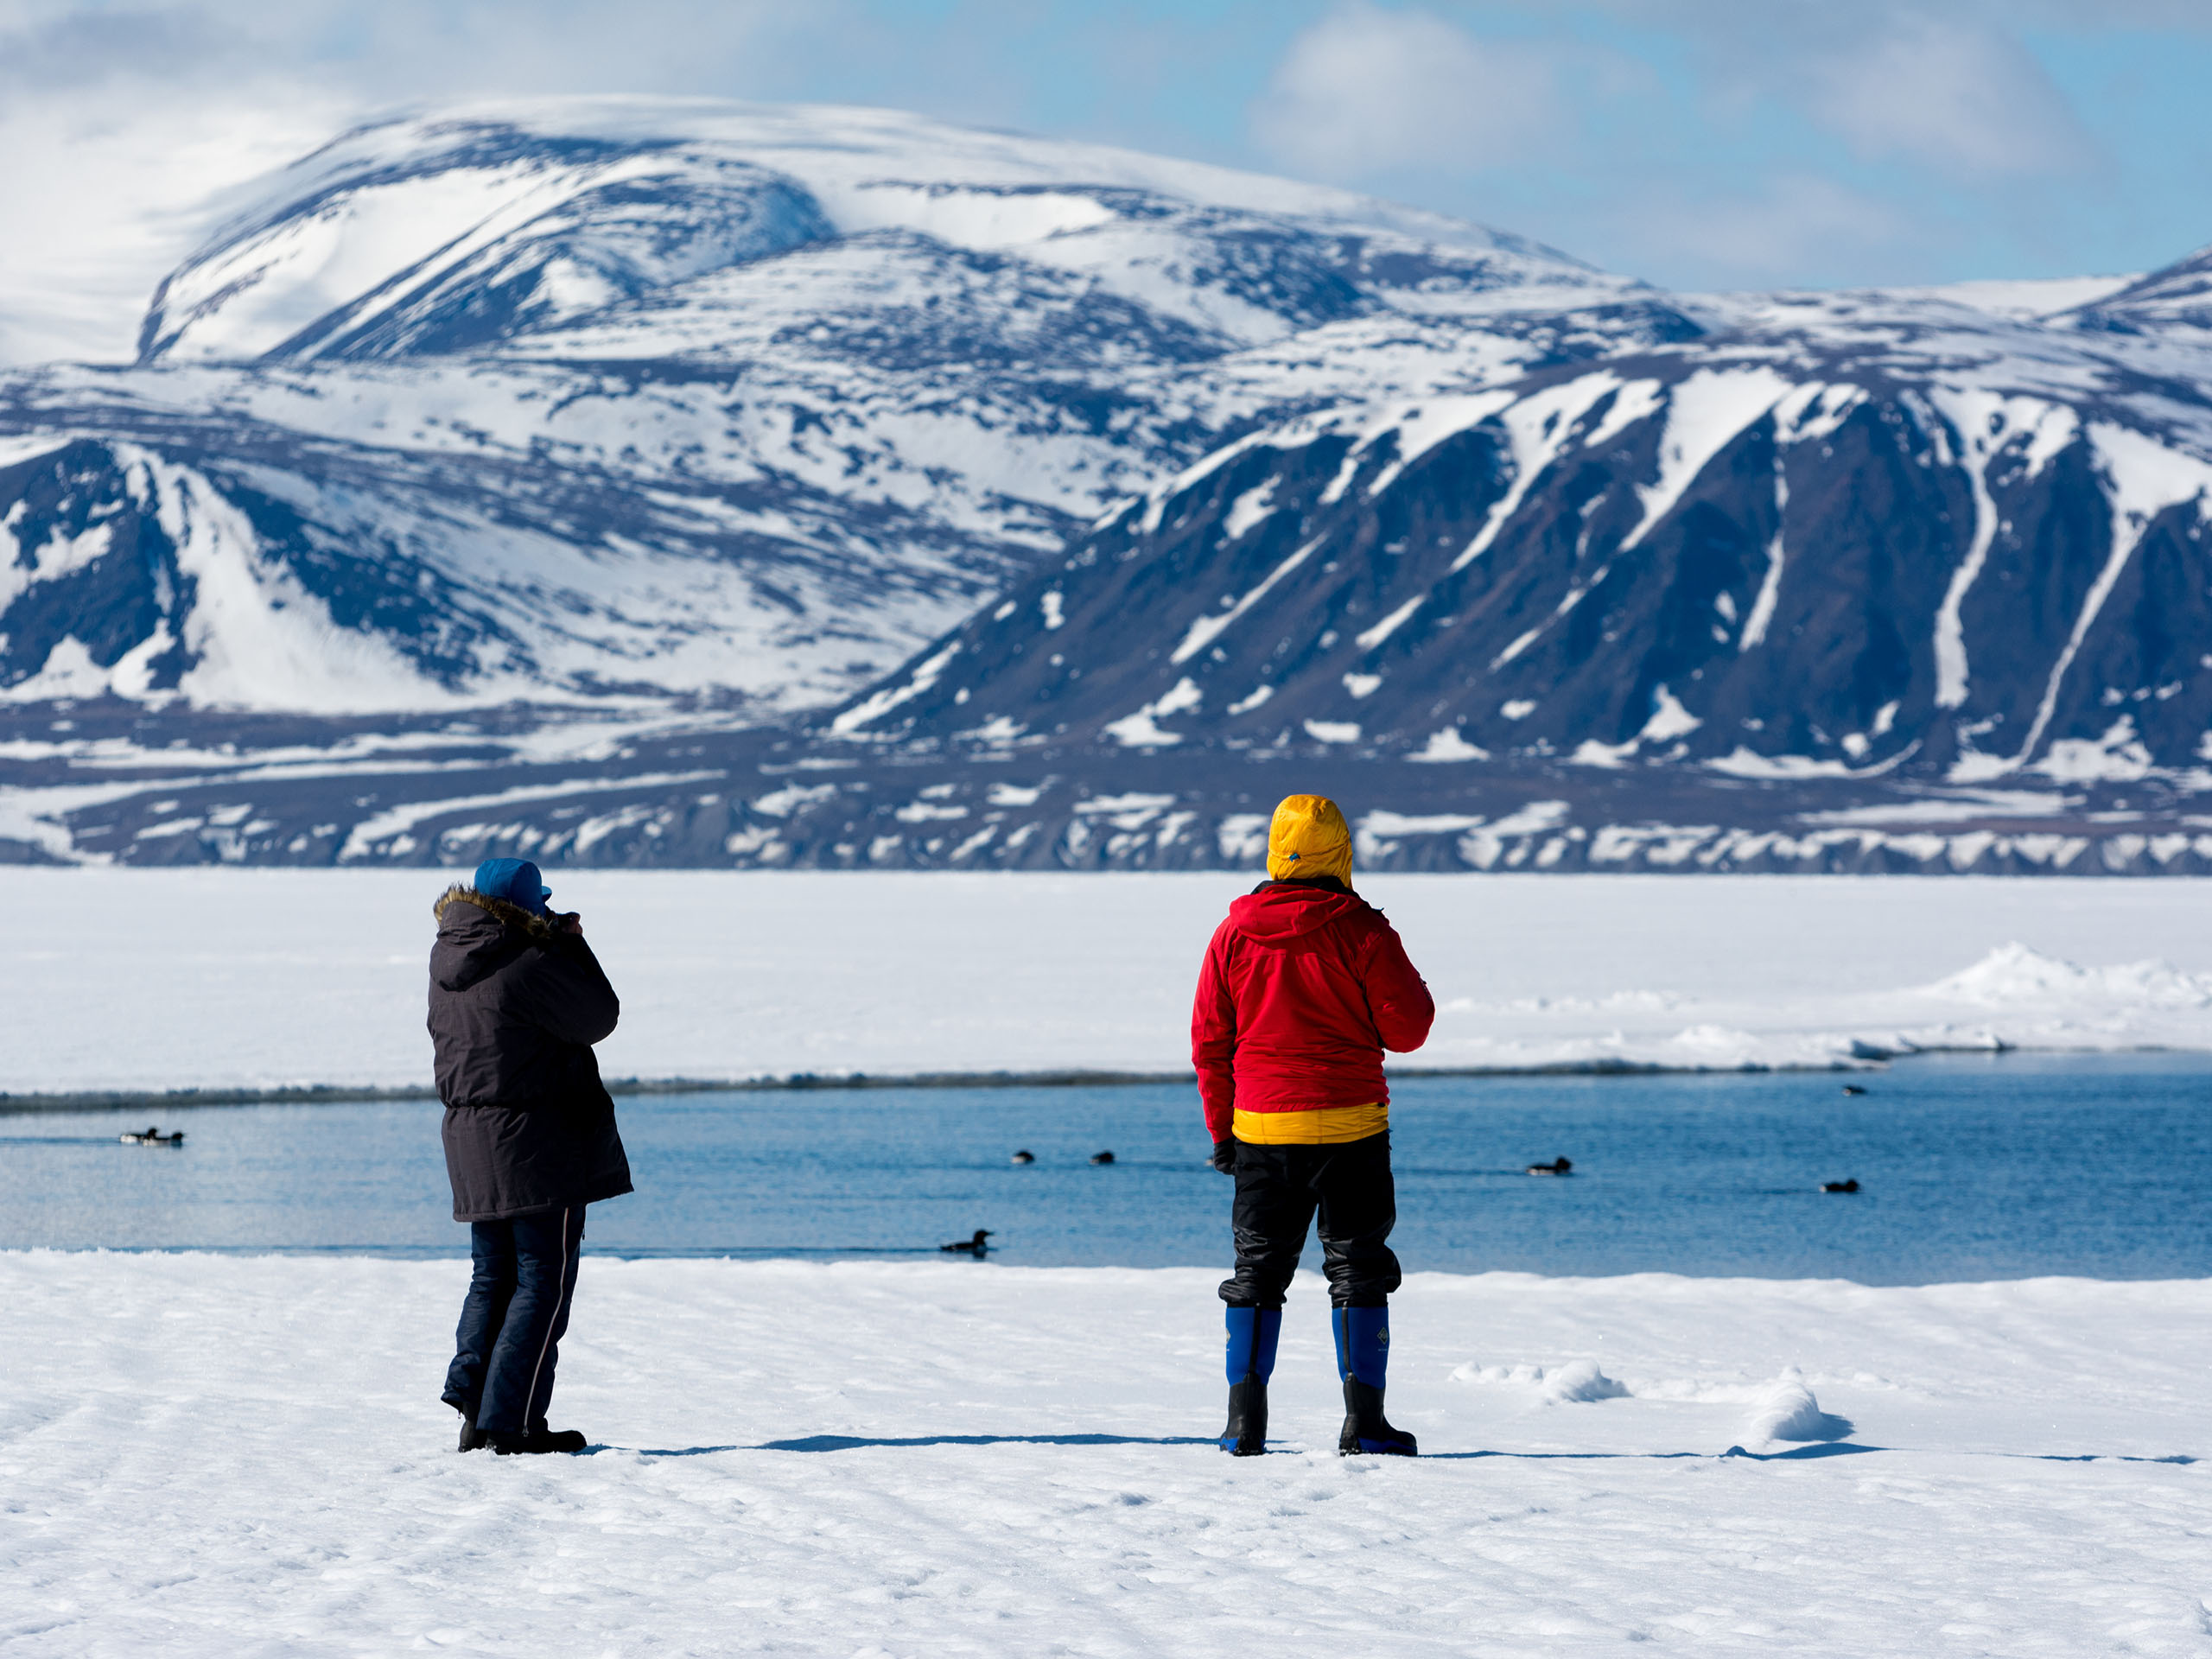
9. Seek Protection from the Wind
The wind will steal warmth away from you! Wear a good wind shell as your outer layer. Find a sheltered spot to stop for a snack. Put your back to the wind. Find a sheltered spot to put up your tent. This will let you keep your precious heat to yourself, and not give it away to your environment.

10. Go to Bed Warm
Take a hike (or a trudge) before bed! Try walking for 15 minutes into the wind to get your blood flowing. Then, once warm, do your final answer to the call of nature. Then, bundle back up and hike back (with the wind) to your tent. By this time, you will be warm and will have emptied your bladder. Go directly to bed while still warm from your exercise! Sweet dreams!


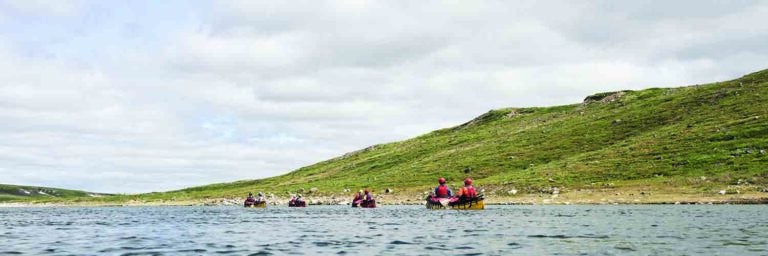
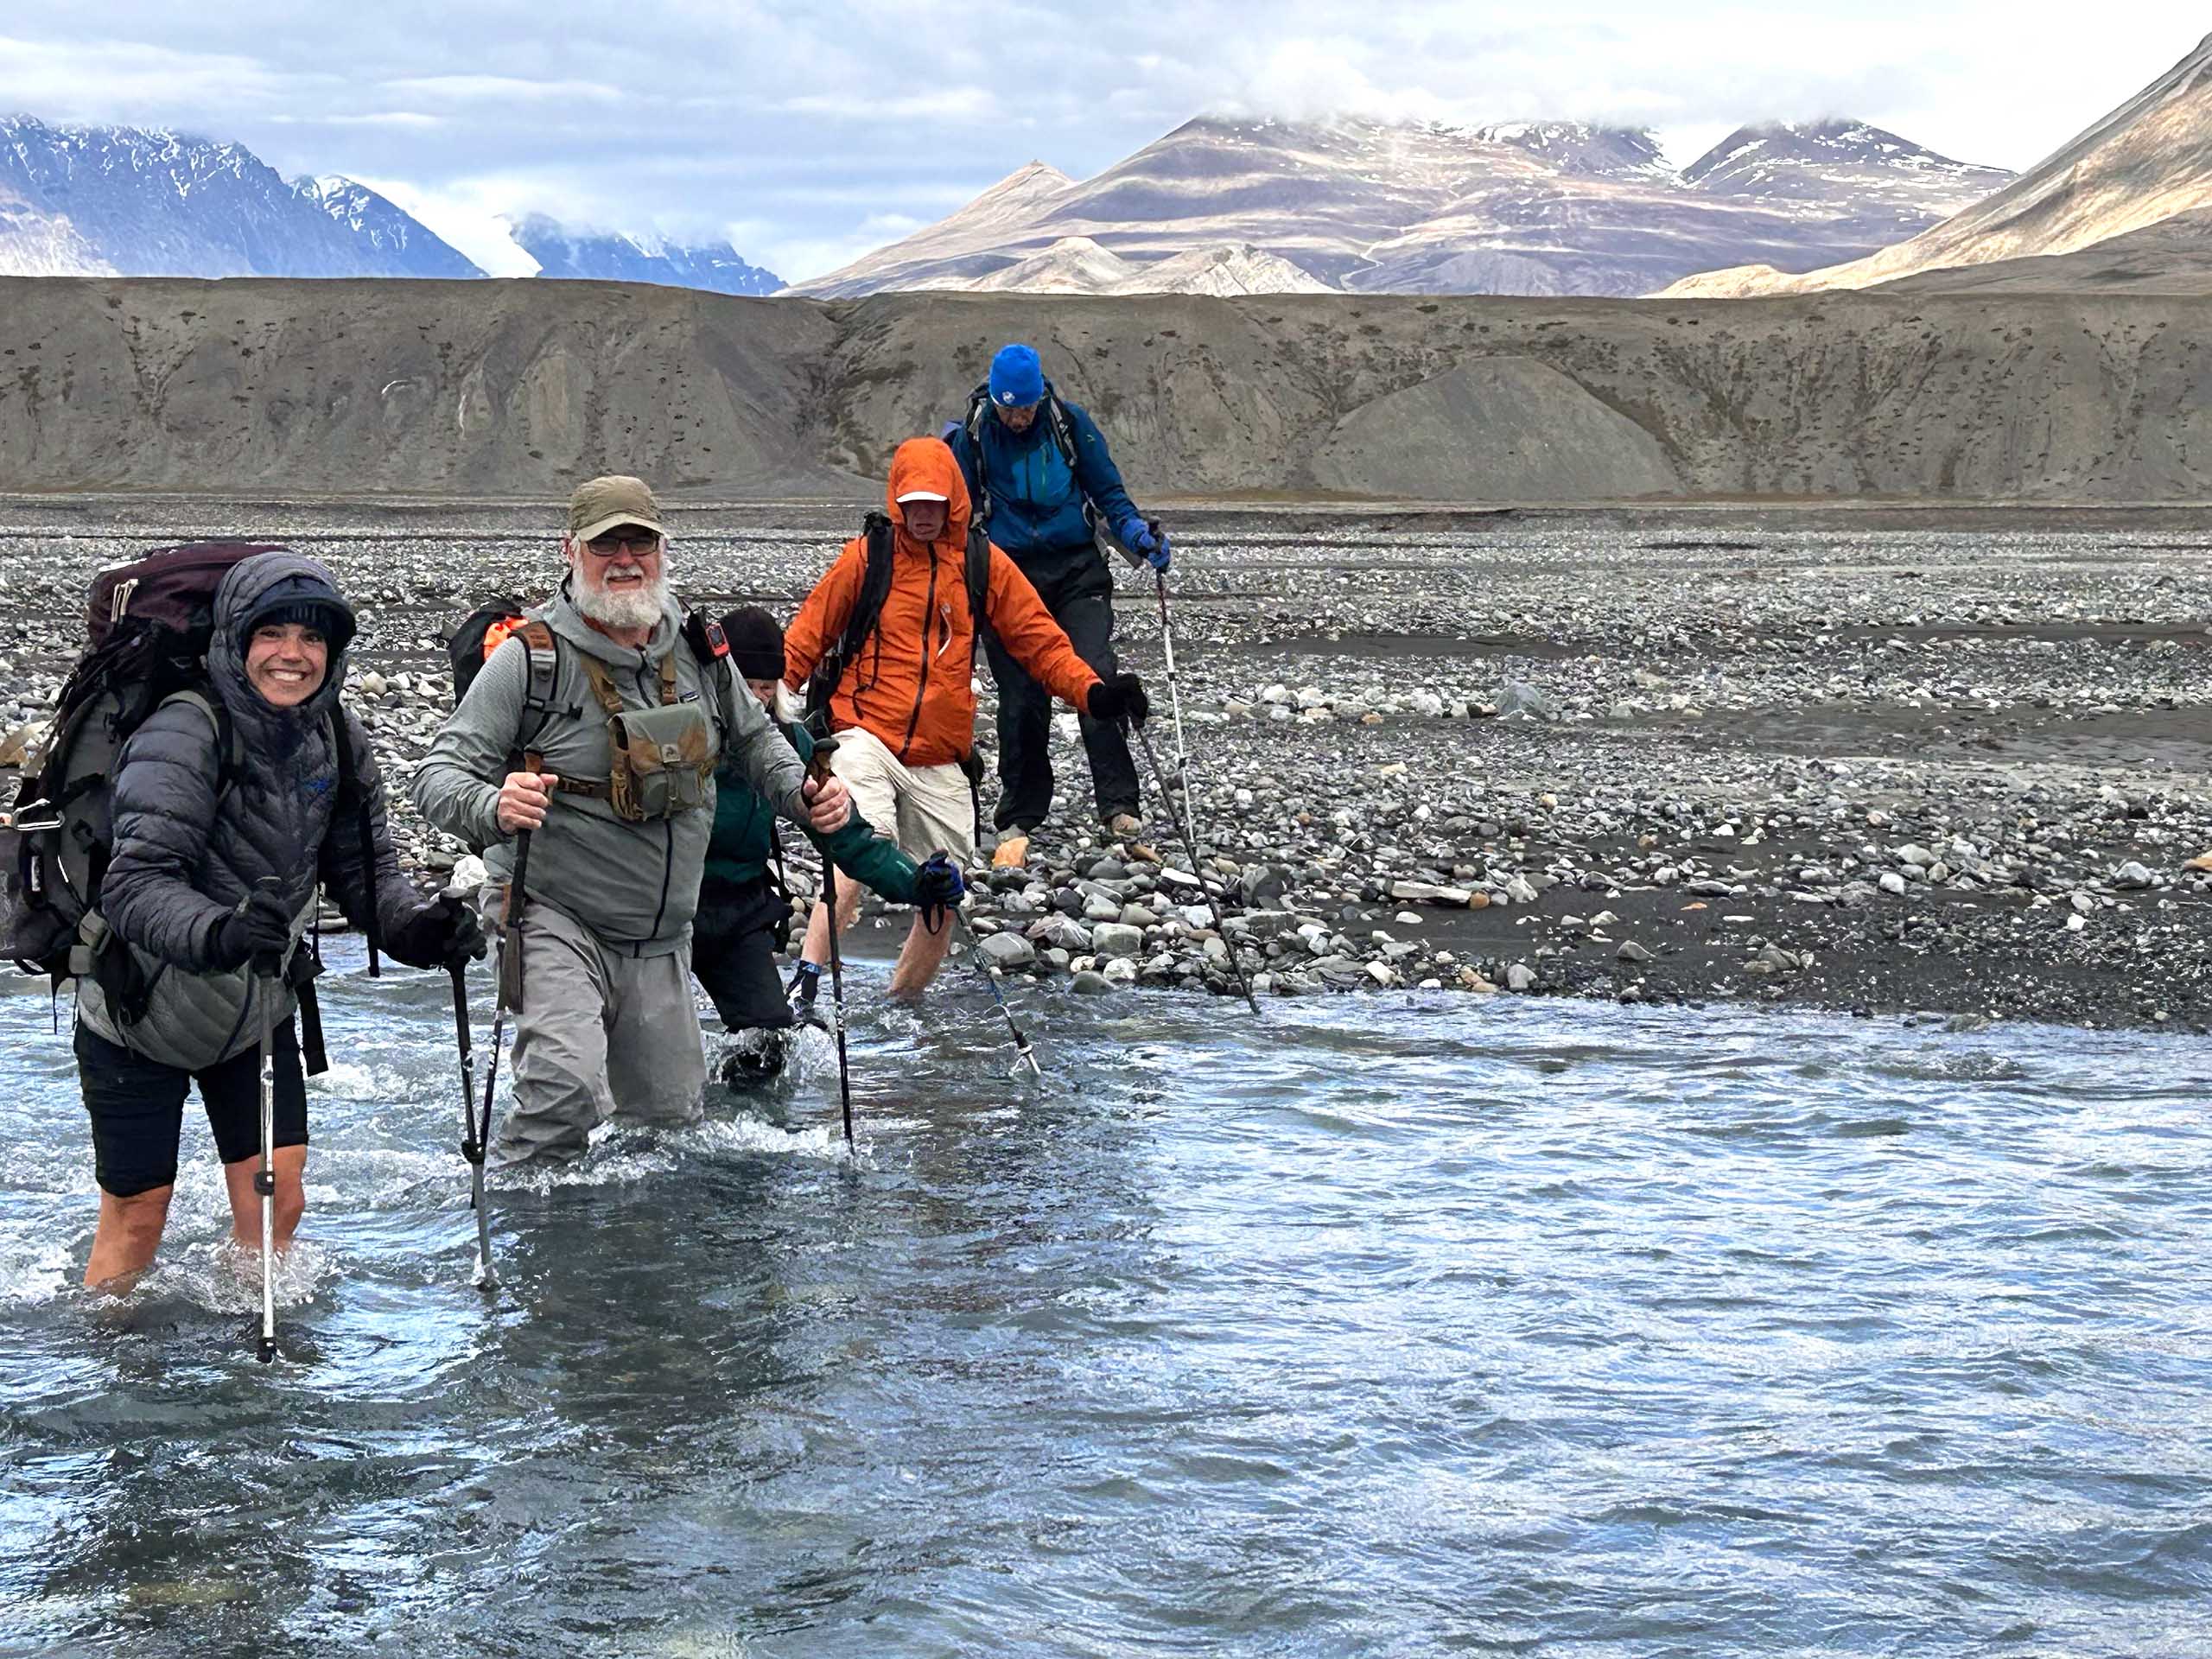
Dreaming of an Arctic adventure this spring or summer? Reach the top of the world in Canada’s most northerly National Park – Quttinirpaaq – on our Ad Astra hike on Ellesmere Island. Cross the visually stunning Akshayak Pass on our Auyuittuq Traverse, or just dip a toe for a shorter trip in the south side of the Park on our Auyuittuq Quick Escape trip, both on Baffin Island. Consider combining unique archaeology, fantastic wildlife sightings, tundra hiking and river travel on our Thomsen River trip in the western Arctic on Banks Island. Or put your heat preservation to the test on our spring ski tours and Floe Edge programs. Get in touch with us if you have questions or would like to book!